IN THE CRM
Configuring Global Email Settings for the CRM
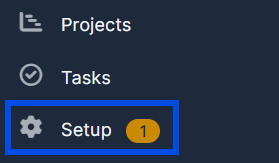
1. Go to "Setup" in the left menu.
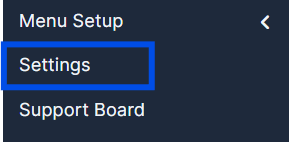
2. Inside "Setup" go to "Settings".
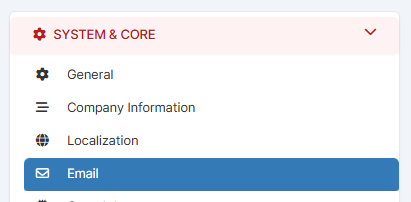
3. In the "System & Core" choose "Email".
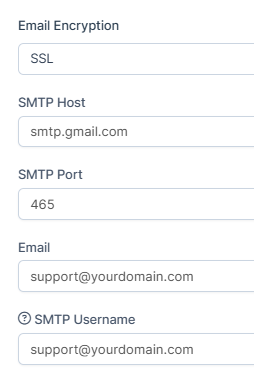
4. Set up the data with your provider details.
5. To ensure the information is entered correctly, you can run a test using the email address you registered with the provider.

6. If the test was successful, press on "Save Settings" to remember the choice.
Configuring the Mailbox Settings
1. Go to "Setup" in the left menu.
2. Inside "Setup" go to "Settings".
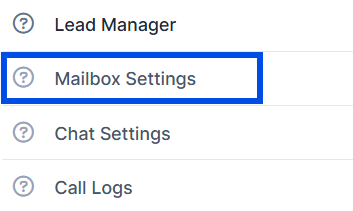
3. Go to "Mailbox Settings" in the left column.
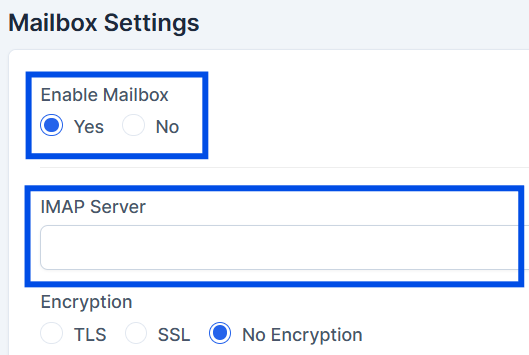
4. Enable the mailbox and enter your "IMAP Server", then press "Save Settings" below.
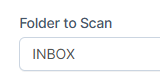
Make sure the INBOX is written in caps
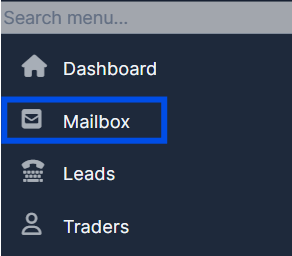
5. After enabling the mailbox, go to "Mailbox" in the left menu.
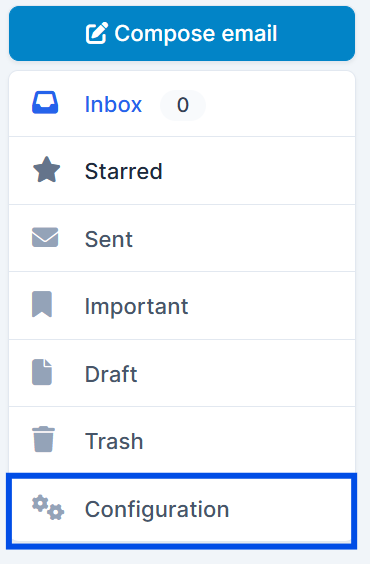
6. Navigate to "Configuration".
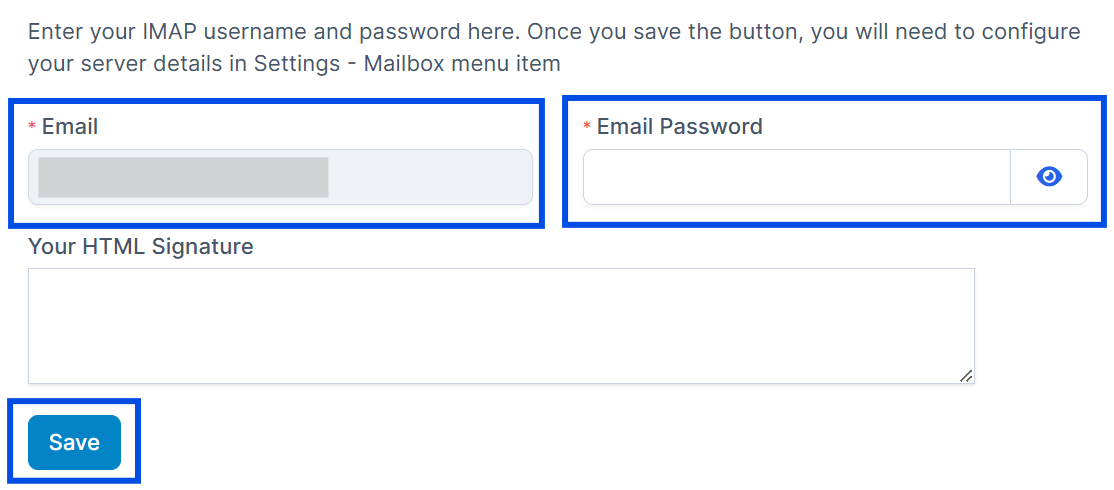
7. Fill in all the mandatory fields marked with *, type your "Email" and "Email Password" and press "Save".
Configuring Automated Emails Settings for the Platform
1. Go to "Setup".
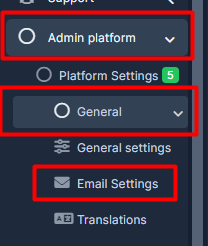
2. Press on the "Admin Platform", go to "General" and choose "Email Settings".
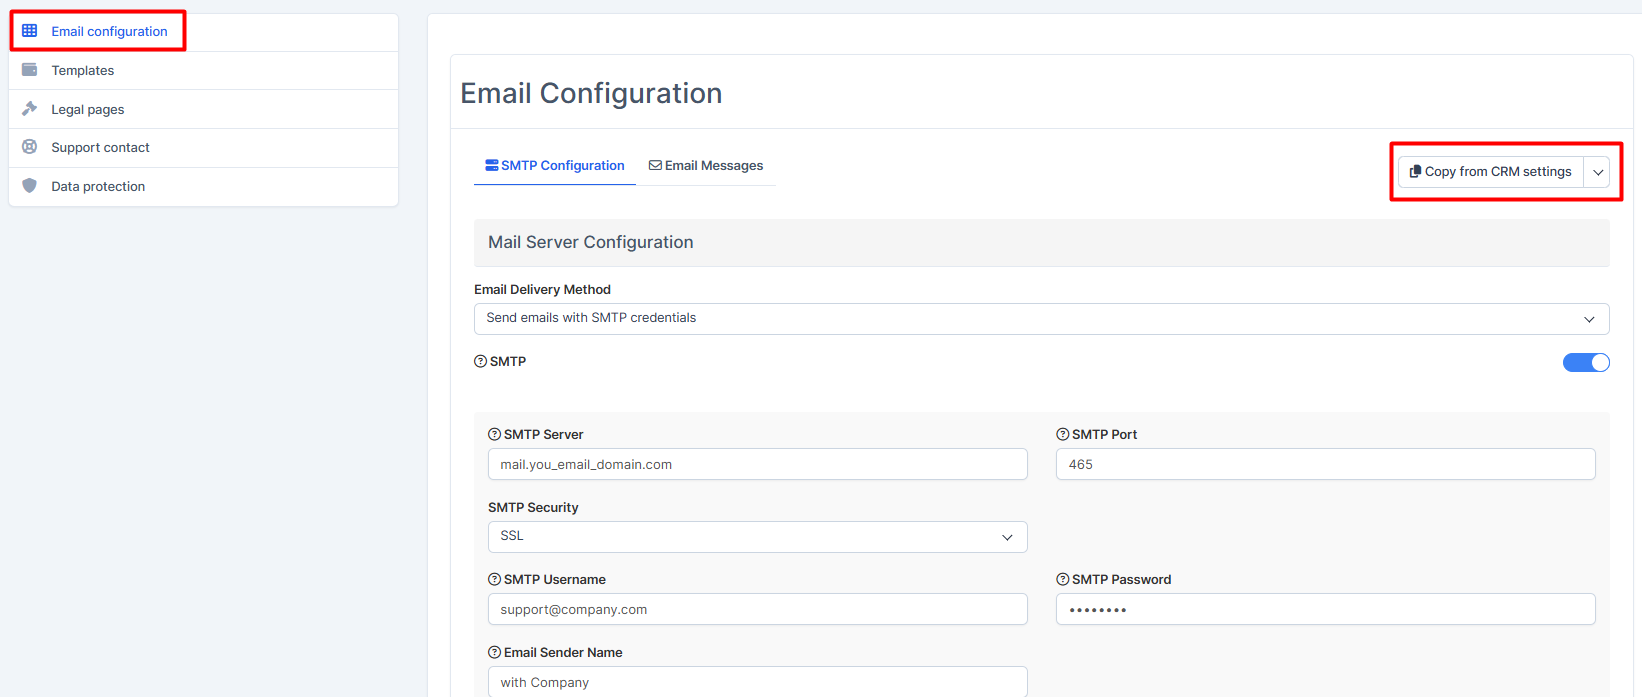
3. Go to "Email Configuration" and fill in details according to the mailbox provider. If you already competed the General CRM settings for the Mailbox, you can press on "Copy from CRM settings".
4. Press on "Save Settings" once done.
Configuring Staff Email
1. Go to "Setup".
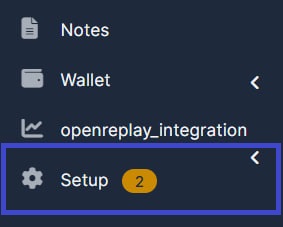
2. Choose "Staff".
3. Choose the staff member and press on the "Mailbox".
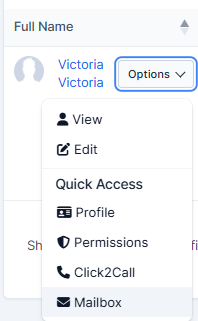
4. Press on the "Maibox" and insert the credentials from the mailbox system the email was registered in.
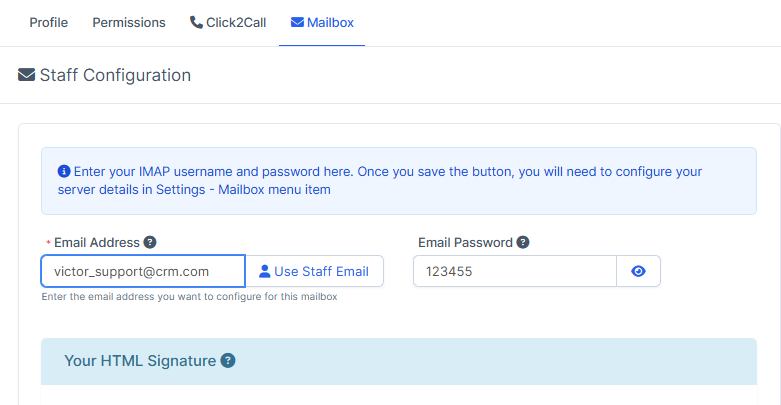
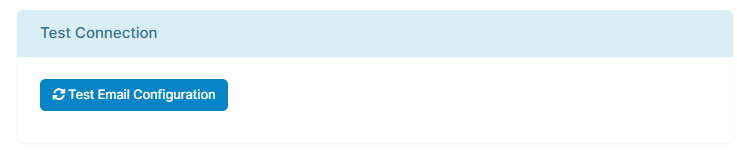
5. To make sure the information above was inserted correctly, press on "Test Email Connection".
6. Once done, press on "Submit".
Setting Staff Permissions to Access the Mailbox
1. Go to "Setup".
2. Choose "Staff".
3. Choose the staff member and press on the "Mailbox".
4. Choose the "Mailbox" category and enable all the permissions you want for this user to be able to manage.
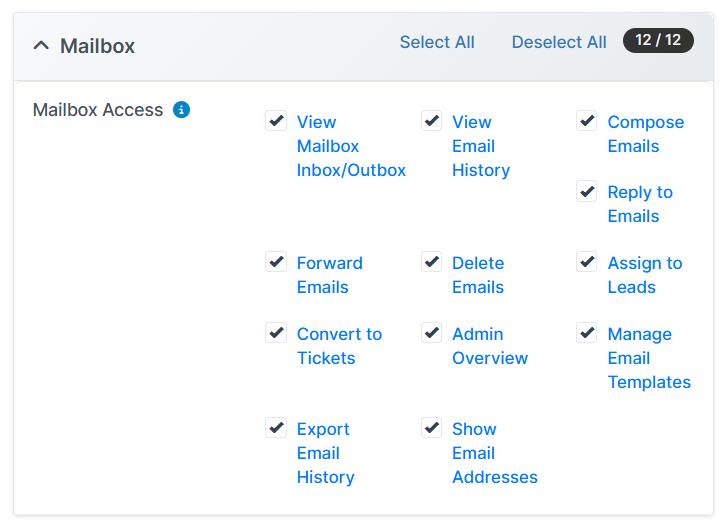
5. Press on "Submit" to remember the choice.