How To Set Up A Department
In The CRM
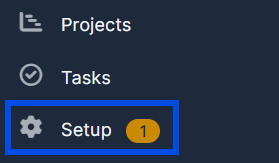
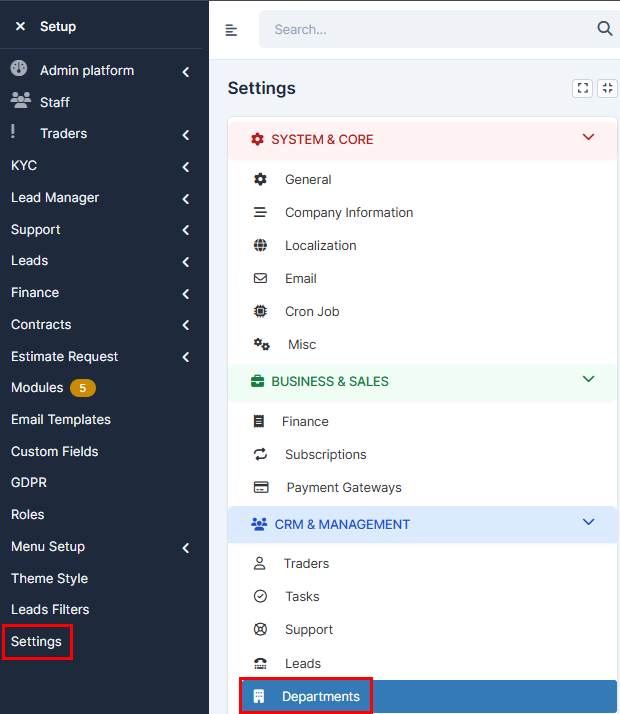
1. Go to "Setup" in the settings panel on the left side of the screen.
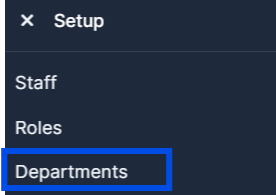
2. Inside "Setup" go to "Departments".
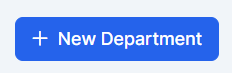
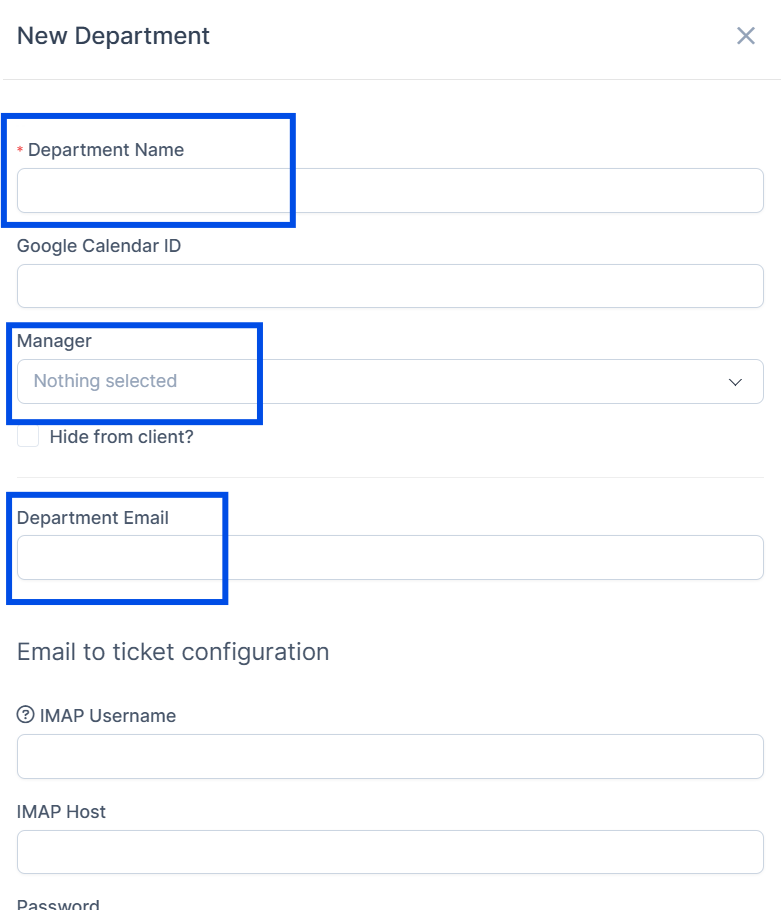
3. Once inside "Departments" find and press on the "New Department" button.
4. Inside the "New Department" form fill in the mandatory fields marked with a red asterisk * choose a manager, department email and other info to your liking.
5. Now press "Submit" to save your changes now the new department will appear on the departments page.

Department Configuration
1. Go to "Setup" in the settings panel on the left side of the screen.
2. Go to "Settings" and choose "Departments"
3. There you will be able to manage the departments.
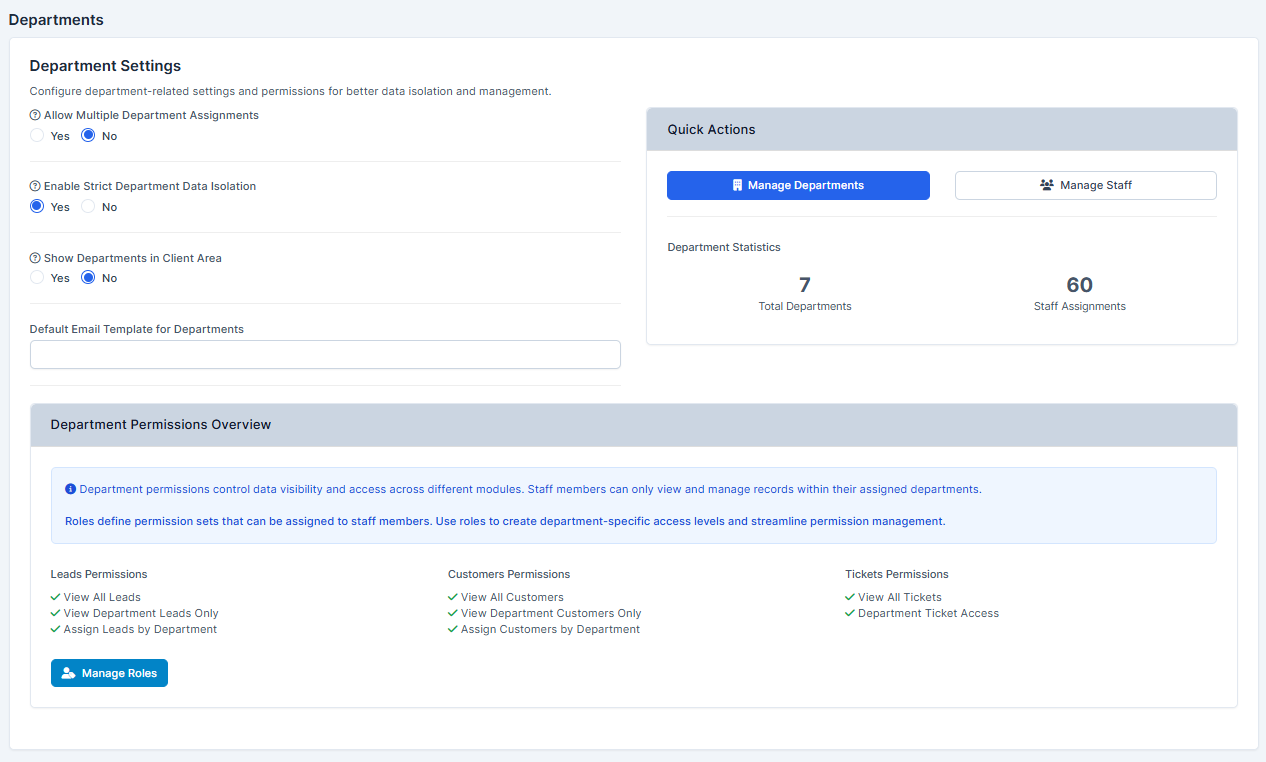
Settings
The "Department Settings" page will offer you a few options.
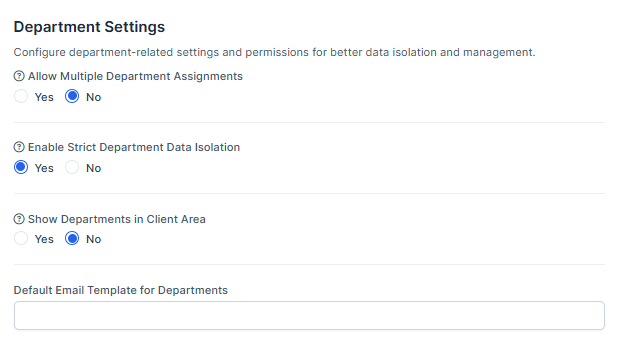
Allow Multiple Department Assignments - When enabled, staff members can be assigned to multiple departments. When disabledl, each staff member can only belong to one department.
Enable Strict Department Data Isolation - When enabled, staff members can only view and manage records (leads, clients, ctickets) within their assigned department. This provides complete data isolations between these departments.
Show Departments in Client Area - When enabled, department information will be visible to their departments in the portal area, allowing them to see which department is handling their request.
And Default Email Template for Departments.
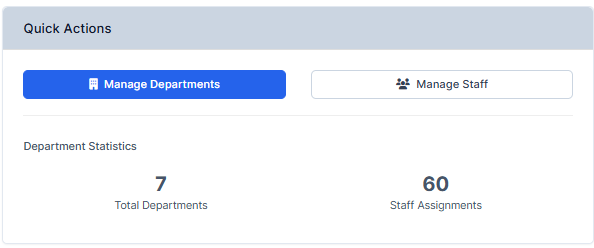
"Manage Departments" page will take you to the Departments tab. While "Manage Staff" will allow to view staff page.
As well, you can manage the roles of the Department by pressing "Manage Roles" button.
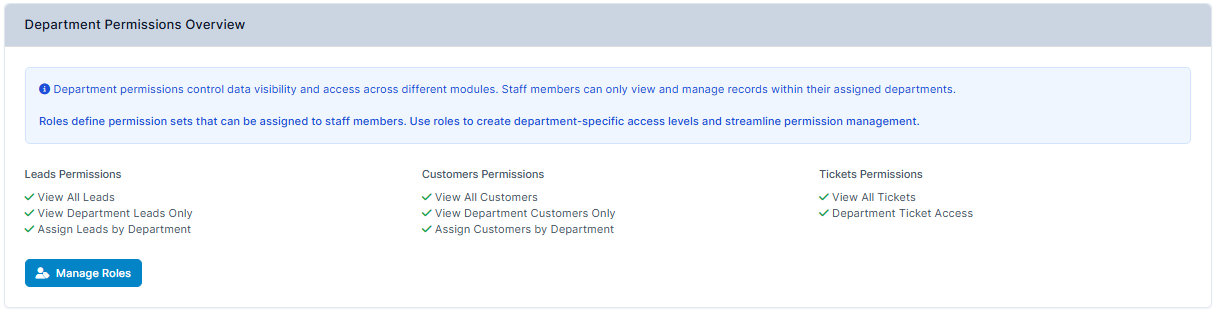
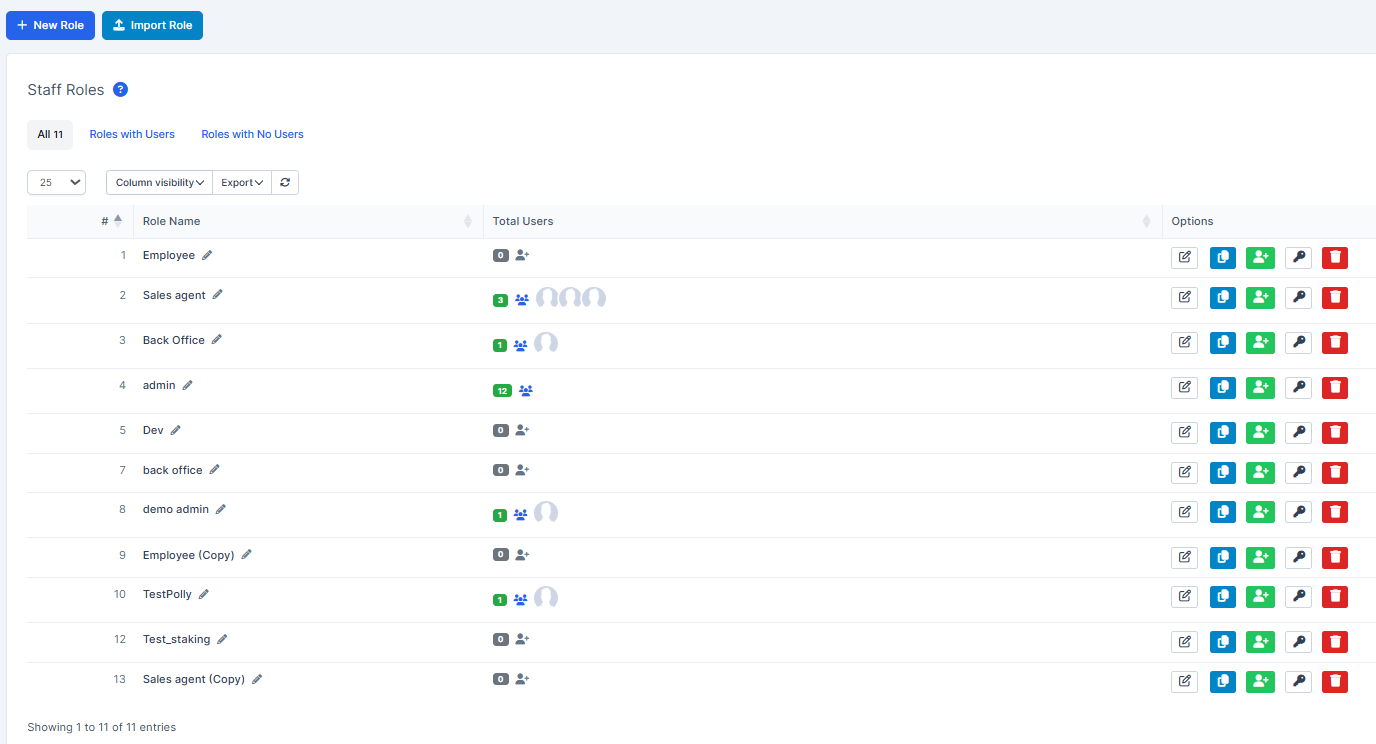
Which will take you to this page, where you will be able to choose and edit requred role.