How the Affiliate Management module works
The Affiliate Management module allows you to run and control an affiliate program directly from your CRM: you can register affiliates, group them, track referrals and commissions, and manage payouts in one place. It is designed to give you clear visibility over affiliate performance and ensure that commissions are calculated and paid correctly.
Introduction
1. Accessing the Affiliate Management module
To open the module from the admin area:
-
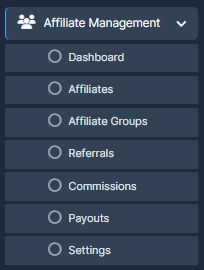
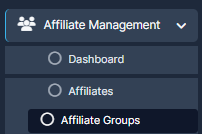
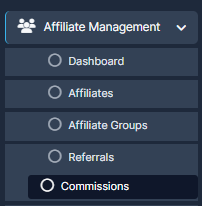
Go to the left sidebar and click Affiliate Management.
-
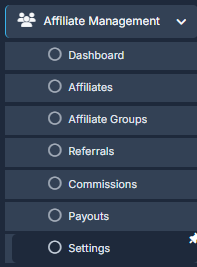
Use the submenu items to navigate:
-
Dashboard
-
Affiliates
-
Affiliate Groups
-
Referrals
-
Commissions
-
Payouts
-
Setting
-
Each section covers a different part of the affiliate lifecycle, from onboarding to final payouts.
2. Dashboard

Go to Affiliate Management > Dashboard
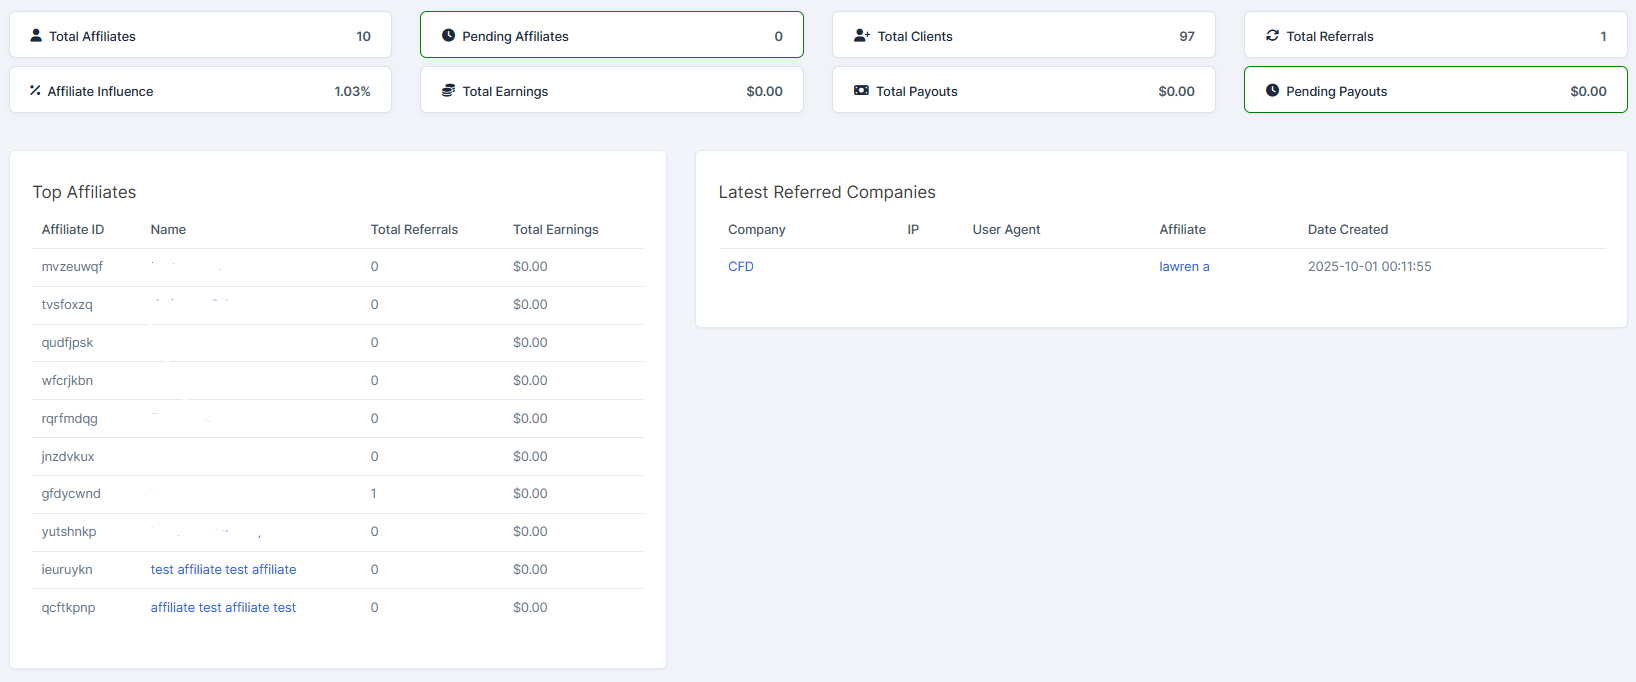
The Dashboard gives you a high‑level overview of your affiliate program. Depending on your configuration, you can typically expect to see:
-
Total number of active affiliates.
-
Recent referrals and their status (pending, approved, rejected).
-
Commissions generated vs. paid.
-
Quick links to manage affiliates, referrals, commissions, and payouts.
Use this page to monitor overall health of the program and quickly identify spikes or drops in affiliate activity.
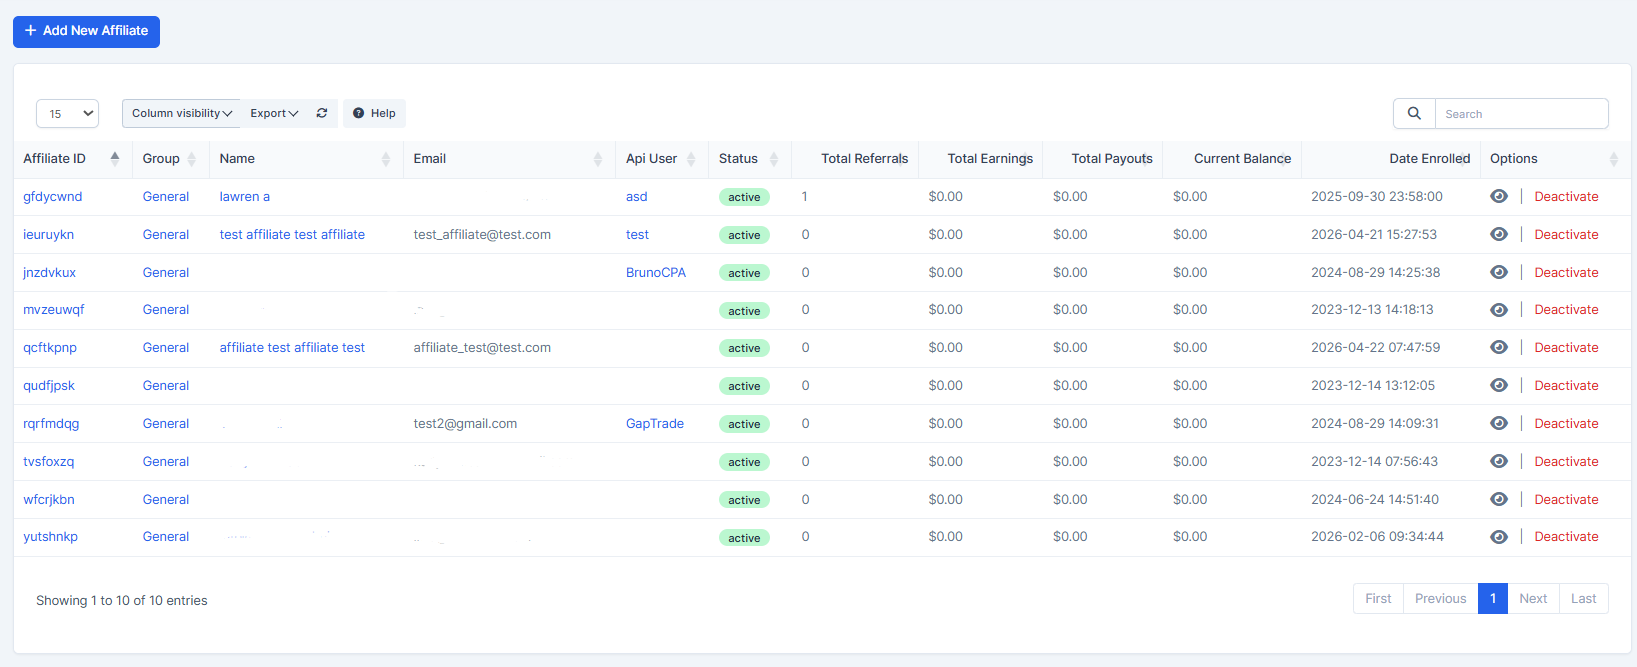
3. Affiliates
Go to Affiliate Management > Affiliates
The Affiliates section is where you manage individual affiliate accounts.
Typical actions you will perform here:
-
Create a new affiliate (for example, based on an existing trader/contact).
-
View and edit affiliate details (name, contact information, associated trader, tracking link, notes).
-
Change affiliate status (e.g., Pending, Approved, Suspended, Terminated).
-
Assign the affiliate to a specific Affiliate Group for commission logic and segmentation.
A common workflow example:
-
A new partner applies to become an affiliate (or you create them manually from this screen).
-
You review their details and set the status to Approved.
-
You assign them to a suitable Affiliate Group (for example “Standard” or “VIP”).
-
You send them their affiliate link and any promotional guidelines.
4. Affiliate Groups
Go to Affiliate Management > Affiliate Groups
Affiliate Groups let you organize affiliates and apply different default rules per group.
Typical use cases:
-
Different commission rates for different groups (e.g., Standard 20%, VIP 30%).
-
Different payment thresholds or payout schedules for specific groups.
-
Segmentation by region, traffic source, or performance level.
In this section you can usually:
-
Create and name a group.
-
Configure default commission structure (percentage, fixed amount, tiered structure).
-
Define default payout rules (minimum payout amount, payout frequency, supported methods).
-
Assign or reassign affiliates to a group.
When you later record referrals and commissions, the system can use the group settings as the default logic for that affiliate.

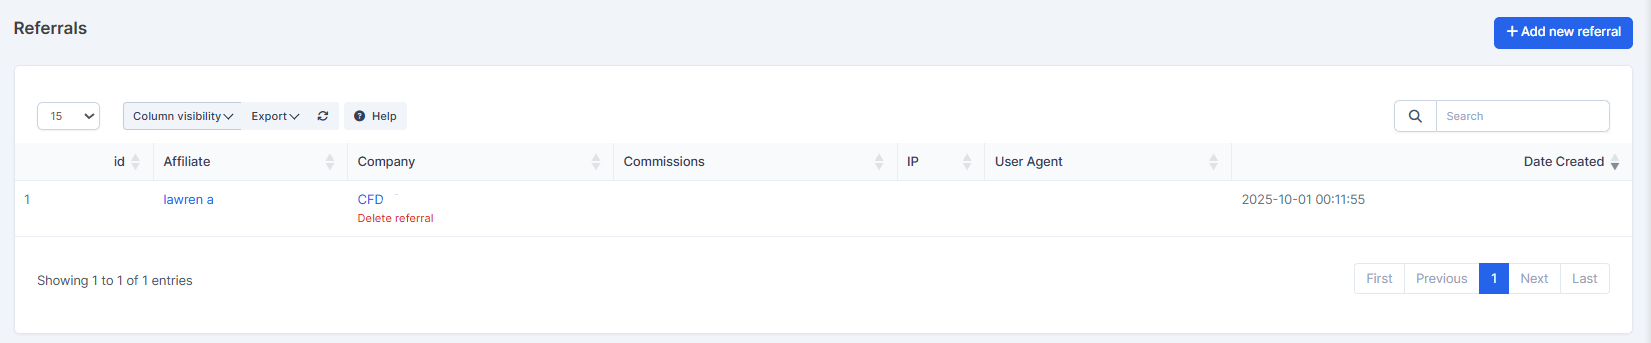
5. Referrals
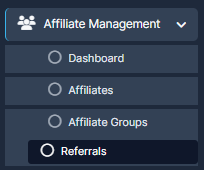
Go to Affiliate Management > Referrals
The Referrals section tracks every customer or lead that arrived through an affiliate.
Each referral record typically stores:
-
The affiliate who referred the customer.
-
The referred customer/lead (for example, a Trader in your CRM).
-
The event that generated the referral (registration, first deposit, specific transaction).
-
Status of the referral (pending, approved, rejected).
-
Any relevant notes or tags (fraud check, bonus applied, etc.).
Standard workflow:
-
A prospect clicks an affiliate link and registers or performs a tracked action.
-
The system records a referral and links it to the corresponding affiliate.
-
After verification (fraud checks, KYC, deposit confirmation, etc.), you approve or reject the referral.
-
Approved referrals become the basis for commission calculations in the Commissions section.
6. Commissions
Go to Affiliate Management > Comission
The Commissions section is where affiliate earnings are calculated and stored.
Key concepts:
-
Each commission is usually linked to a specific Referral, transaction, or revenue event.
-
Commission amount is determined by the affiliate’s group rules plus any custom overrides you configure.
-
Commissions may initially be recorded as Pending, and then move to Approved or Rejected depending on your validation process.
Typical actions:
-
Review newly generated commissions before approval.
-
Edit specific commission entries if you need to correct data or apply manual adjustments.
-
Approve commissions in bulk once the underlying referrals and transactions are confirmed.
-
Filter by affiliate, date range, group, or status to audit payouts.
Once a commission is marked as approved and meets payout criteria, it becomes eligible to move into the Payouts workflow.
7. Payouts

Go to Affiliate Management > Payouts
The Payouts section handles actual payments from you to your affiliates.
You will typically work with:
-
Payout records that bundle one or more approved commissions for a given affiliate.
-
Statuses such as Draft, Pending, Paid, or Cancelled.
-
Information about payment method (e.g., bank transfer, wallet, other method supported in your setup).
Standard payout flow:
-
Identify affiliates whose approved commissions reached your minimum payout threshold.
-
Create a payout for each affiliate (the system can aggregate all eligible commissions into one payout).
-
Execute the payment through your financial system or wallet.
-
Mark the payout as Paid in the module and add reference details (transaction ID, date, notes).
This gives you a clear history of when and how much you have paid each affiliate, which is important for both accounting and transparency.
8. Settings
Go to Affiliate Management > Settings
The Settings page controls global behavior of the Affiliate Management module.
From Settings → Affiliate Management, you can typically configure:
-
Global defaults for commission calculation (e.g., default percentage, revenue type used as base).
-
Global payout rules (payout frequency, minimum payout amount, default status for new affiliates).
-
Tracking behavior (cookie lifetime or other attribution rules, if available in your CRM).
-
Notification preferences (e.g., send emails when affiliate is approved, when payout is generated, etc.).
Make sure you finalize these settings before onboarding a large number of affiliates so that your program works consistently from day one.
9. Recommended setup flow
If you are enabling the Affiliate Management module for the first time, a straightforward sequence is:
-
Configure Settings (global commission logic, payout rules, notifications).
-
Create one or more Affiliate Groups that reflect your business model (e.g., Standard, VIP, Strategic Partners).
-
Add or import Affiliates and assign each to the appropriate group.
-
Confirm that Referrals are being recorded correctly when test links are used.
-
Review and approve Commissions generated from test referrals.
-
Run a test Payout to validate your operational flow end‑to‑end.
Once this is done, you can safely invite partners to join your program and monitor their performance from the Dashboard.
TIPS AND TRICKS
WORKFLOW
-
Start in Dashboard to see overall performance and trends.
-
Check Referrals to approve or reject new entries from affiliates.
-
Review Commissions to confirm amounts before they are included in payouts.
-
Use Affiliates and Affiliate Groups to keep your partner list clean and organized.
-
On a regular schedule (for example weekly or monthly), go to Payouts and complete payments for affiliates who reached the minimum amount.
FILTERS AND SEARCH
-
On list pages (Affiliates, Referrals, Commissions, Payouts), use filters to narrow down the information you see.
-
Use the search box to quickly find a specific affiliate, client, or record.
-
Adjust the number of items per page if you want to see more or fewer records at once.
How to Set Up the Affiliate
IN THE CRM
The acticles you may find useful for you:
How to Create a New Affiliate?
How To Find a Report of The Affiliate Which Sent the Most of the Leads?
How to Assign Leads from an Affiliate to a Specific Agent
How to Disable Leads Duplication?
Creating the API source
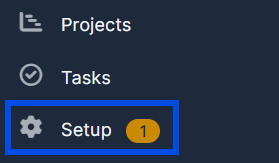
1. Go to "Setup" in the left menu.
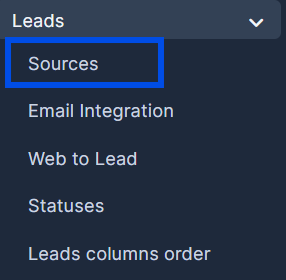
2. Press the "Leads" button and select "Sources" from the dropdown list.
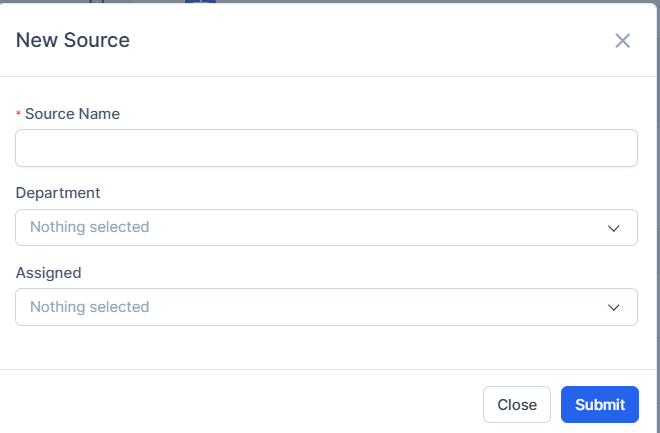
3. Press the "New Source" button to create a new source.

4. Fill in the columns and press "Submit". Depending on the Department or Assigned, the leads will be assigned accordingly to the chosen Department or Agent.
Creating New API user
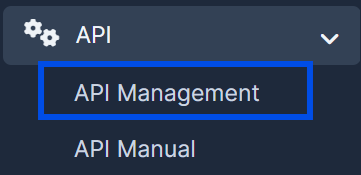
5. Go to the main menu and click "API" and select "API management" from the dropdown list.
6. Press the "New User" button.
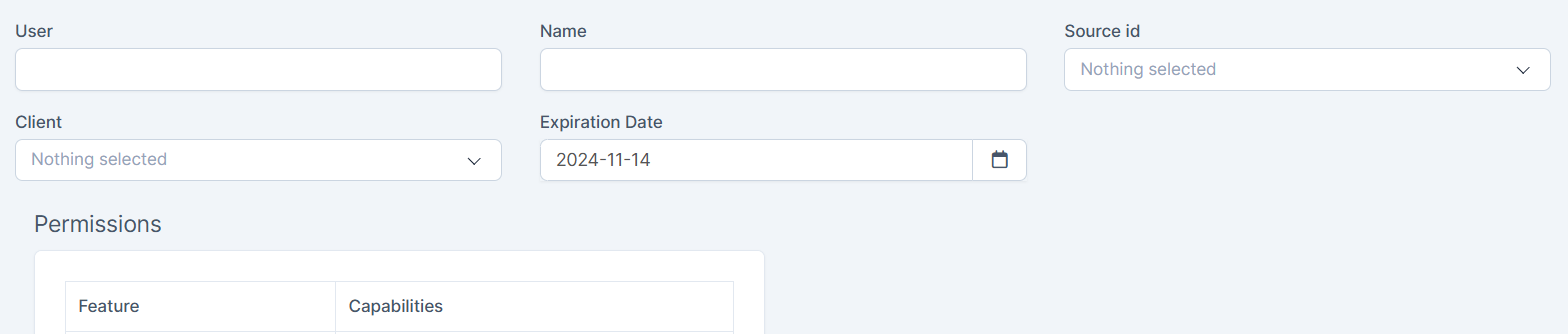
7. Fill in the information about the new user.
The source name, the username and the affiliate name should be all the same (refer to the name of the source you've just created).
Set an expiring date. Note when the date arrives, the integration will be paused until you extend it.
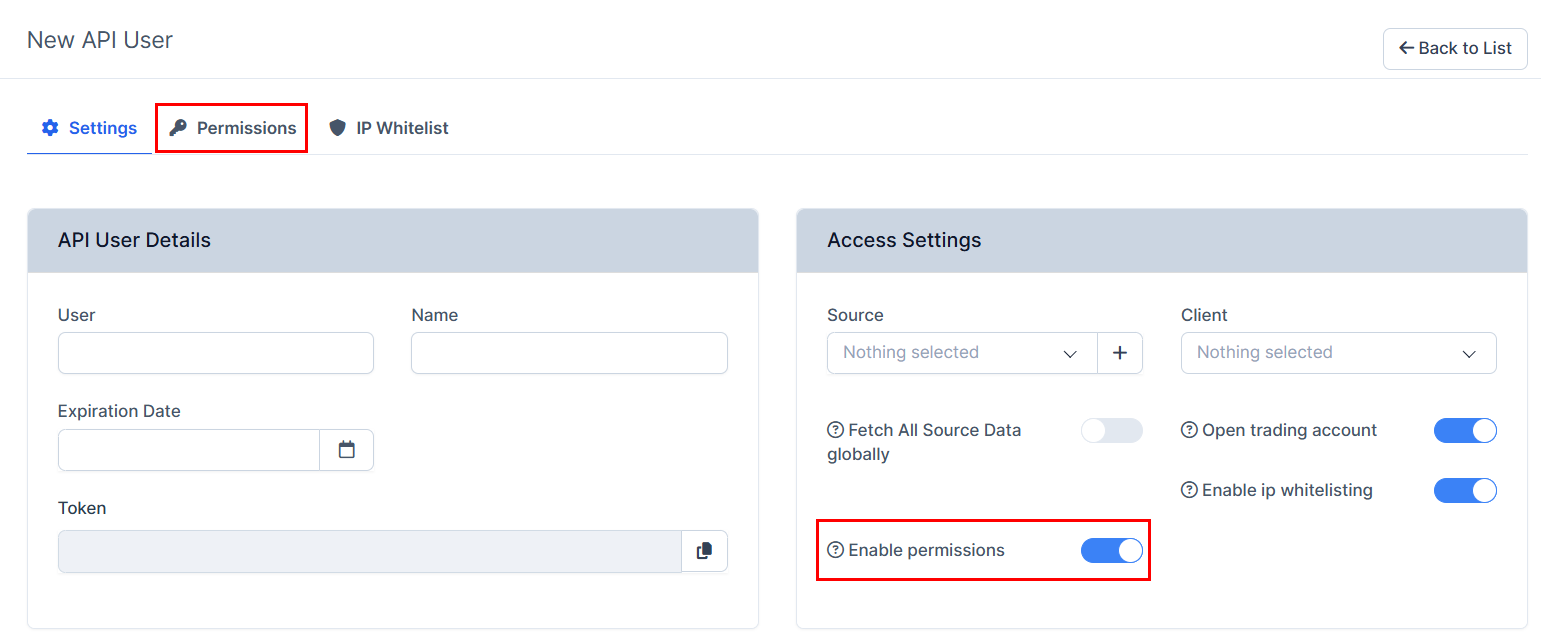
8. Optionally:
-You can also set up permissions.
Note that if you enable permissions without choosing any, the affiliate will have the full access by default which may be dangerous for your information. To give the API some special permissions, just match them on the "Permissions" and save your choice.
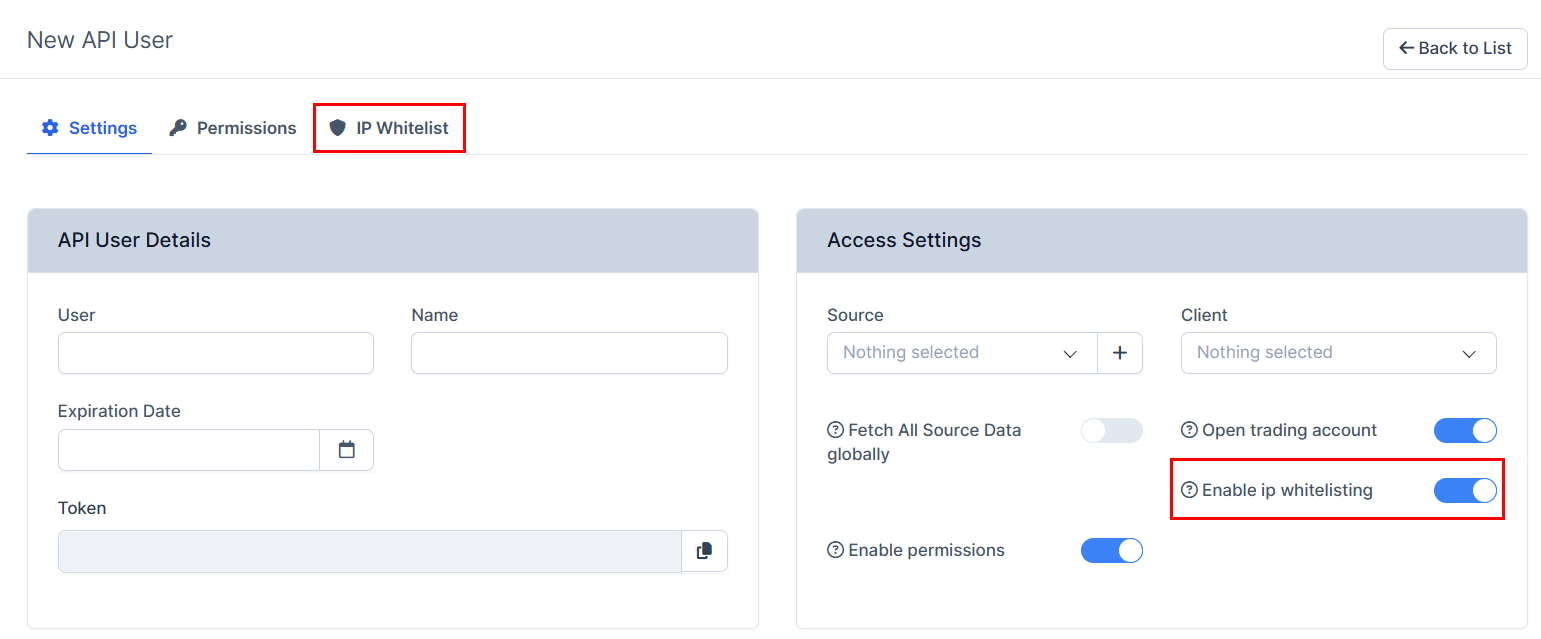
9. Optionally:
-You can add the IP whitelisting if the affiliate needs it. Enable the function and press on the "IP Whitelist" to add the required IPs.
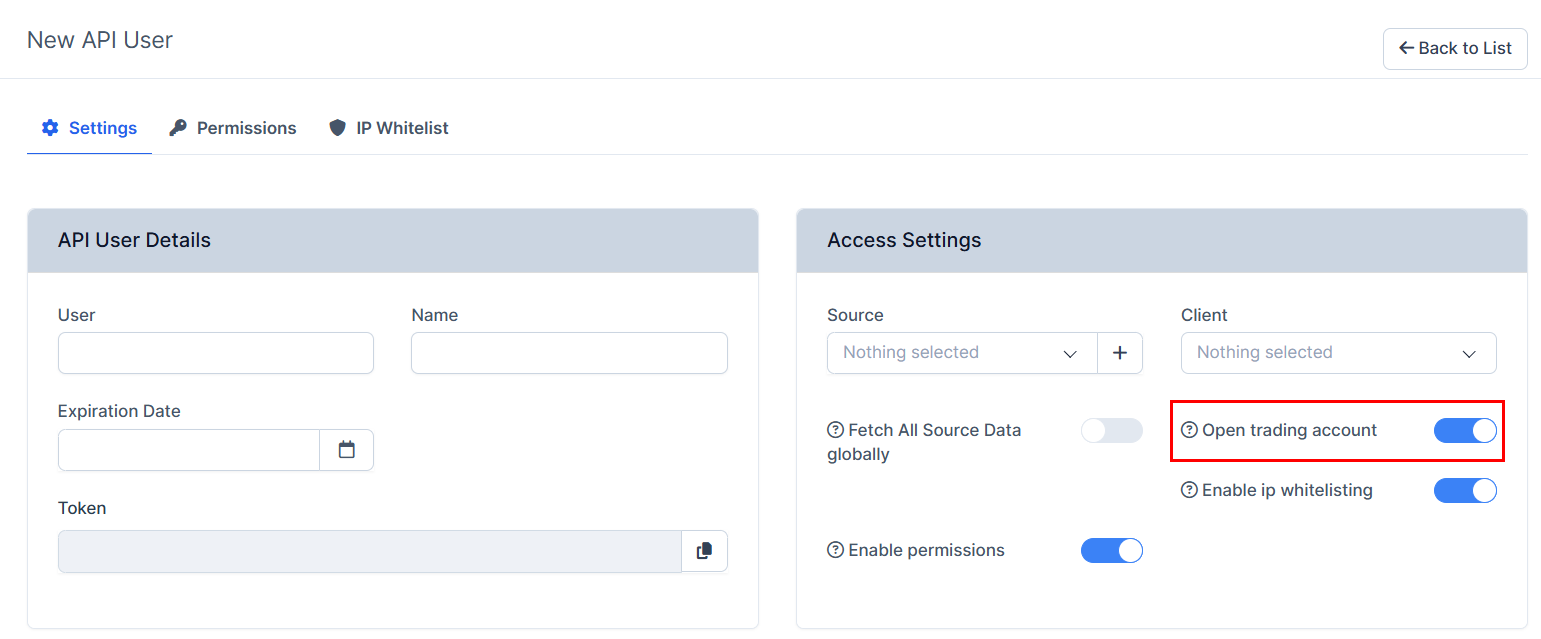
10. Optionally:
-Open Trading account set automatically will open the trading account for each lead coming. By default it will have 123456 password.
If your affiliation type is CPL, the trading account will not be automatically open. If CPA, the trading account will be automatically open for the lead.
11. Press "Save".

Creating the Costumer/Trader
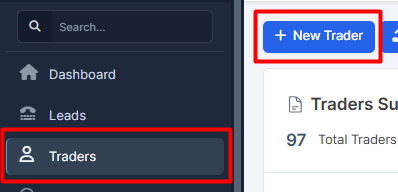
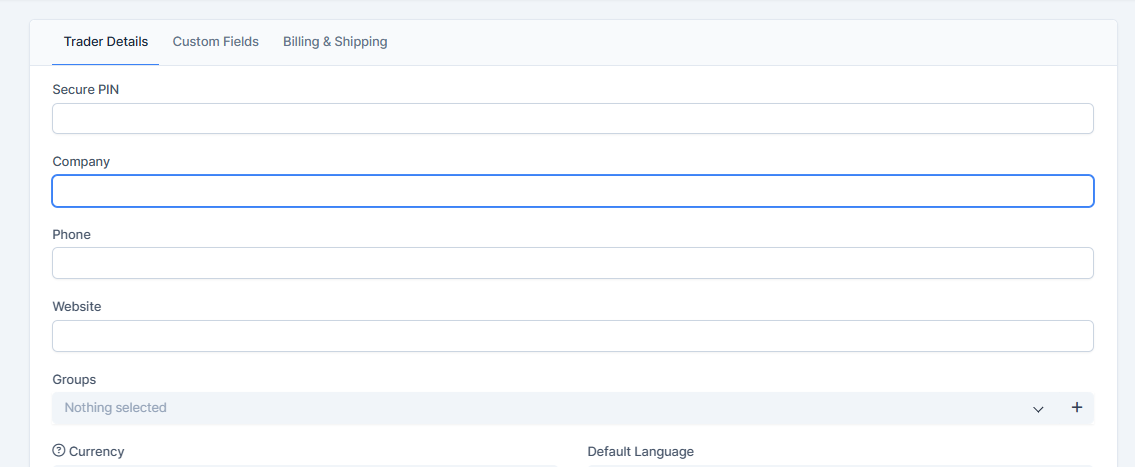
12. Go to the "Trader" tab and press on the "New Trader" button.
13. Create a new trader, press on the "Submit" button to save the trader.
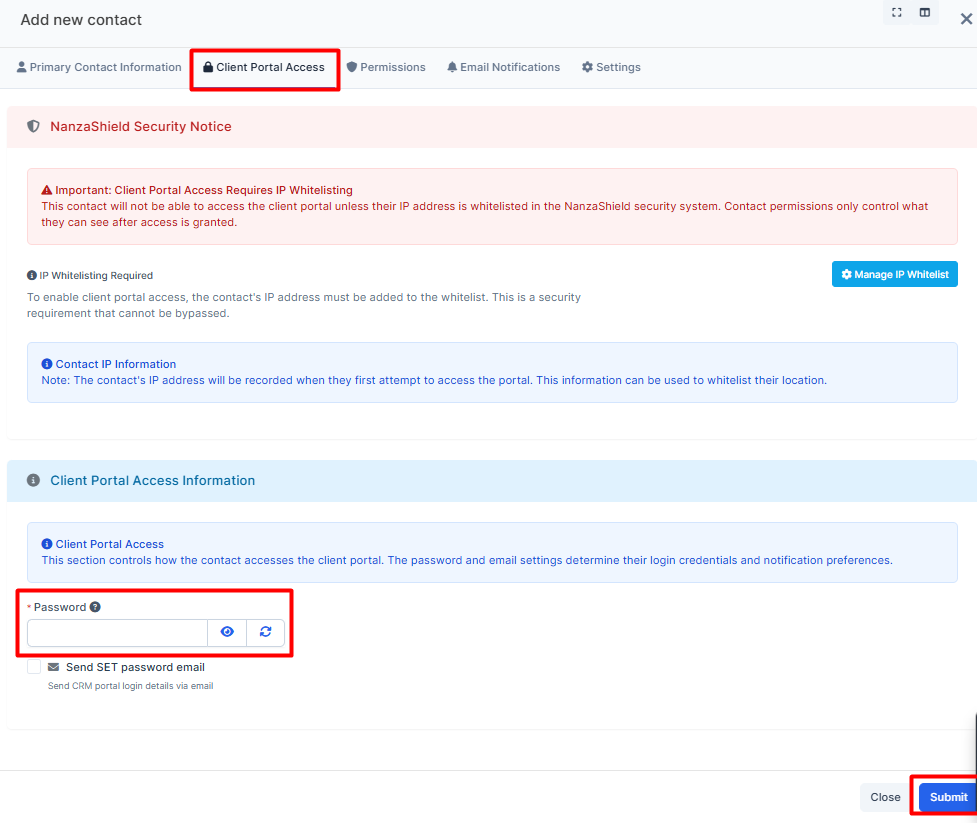
14. Go back to the "Trader" tab press on your user. Choose "Contact" to add the contact.
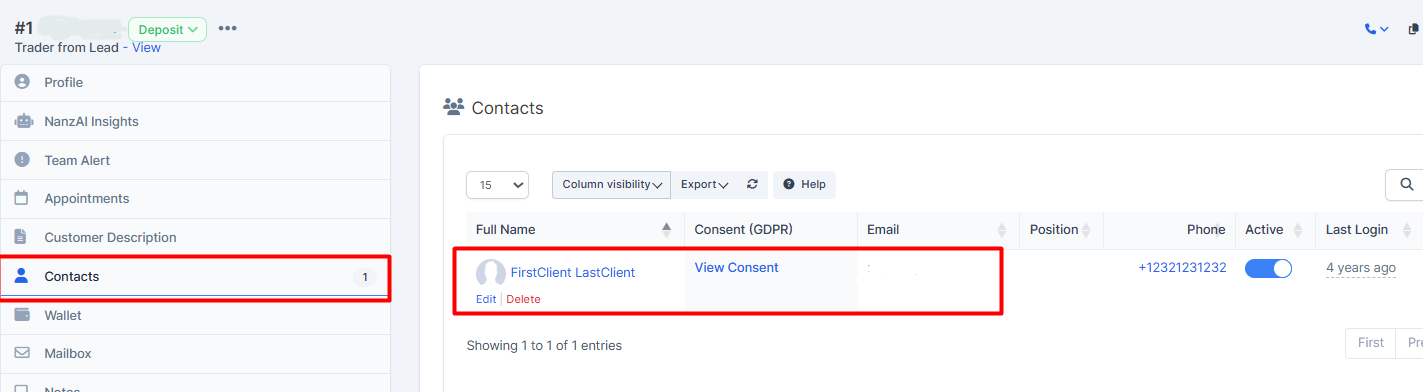
As you submit, make sure you add the email and put in the information in the "Client Portal Access" as those are the credentials your Affiliate is going to use to log in to their Dashboard.
15. Go back to the "API" and select "API management" from the dropdown list.
16. Choose your source, press on "Actions" and select "Edit".

17. Add there your Trader/Client and press on "Save".

Creating the User for the Affiliate Management
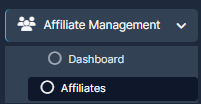
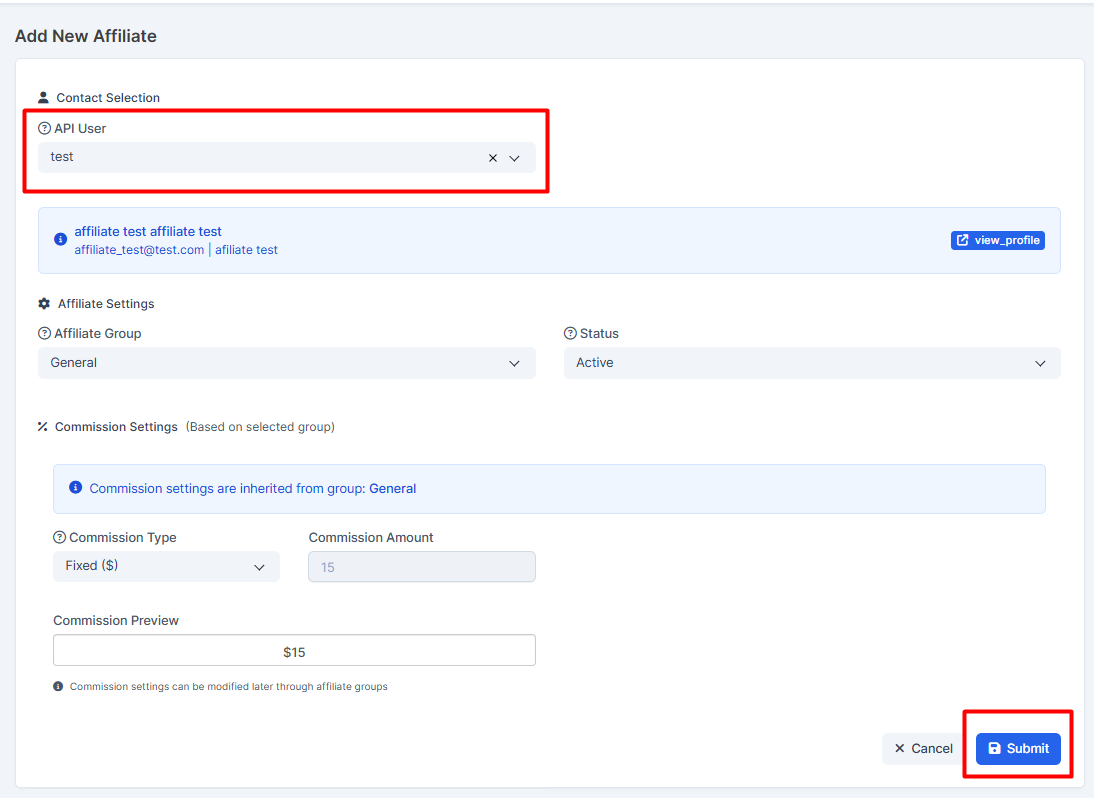
18. Go to the "Affiliate Management" and choose "Affiliates".
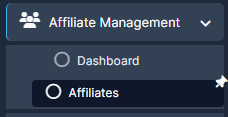
19. Press on the "Add a new Affiliate".

20. Choose your API user and set up other required for you settings. Press on "Submit".

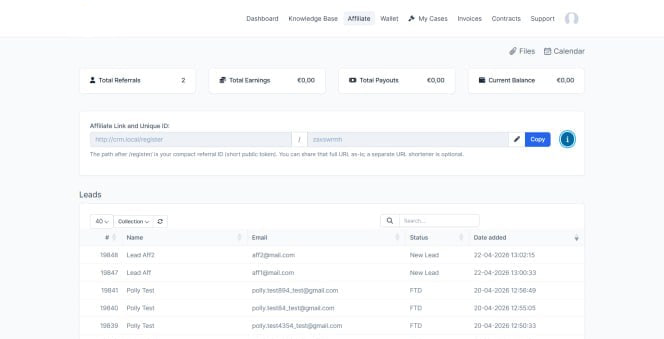
21. Press on the eye to view the information. This is an inside view for the CRM agent.
![]()
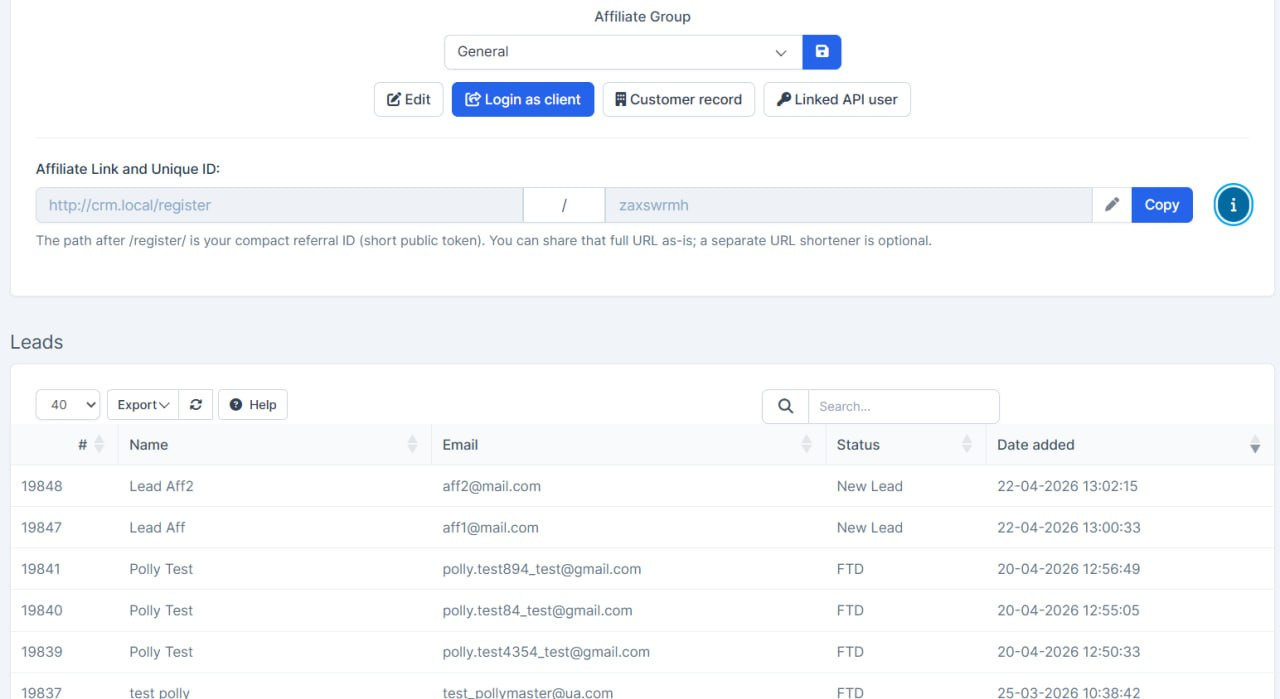
For the affiliate to log in to the portal use next login: https://your_crm_link/authentication
Form for the Leads
22. Go to the "Setup".

23. Chose "Leads" tab, press on the "Web to Lead" and press on the "New Form".
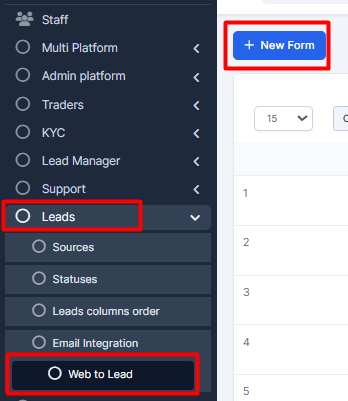
24. Choose "Leads" tab, press on the "Web to Lead" and press on the "New Form".
Depending on if you need the Trading Account, you can enable or disable this option.
Fill in other required fields.
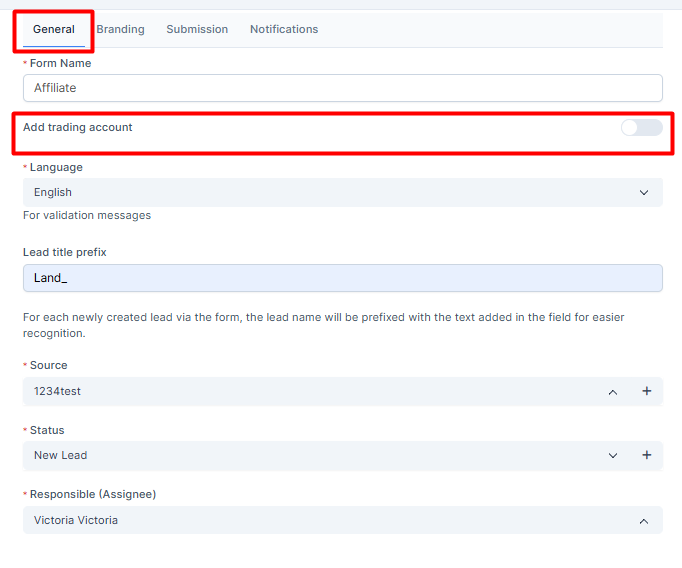
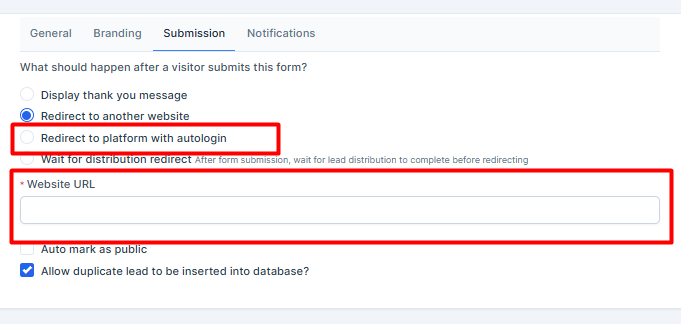
if you need leads coming with the Trading Account to your platform, put in the link and choose "Redirect to platform with autologin" option.
25. Press on "Submit" to save the form.

26. In the Form Builder press and drag required fields to your form. Press on "Save" as you're done.
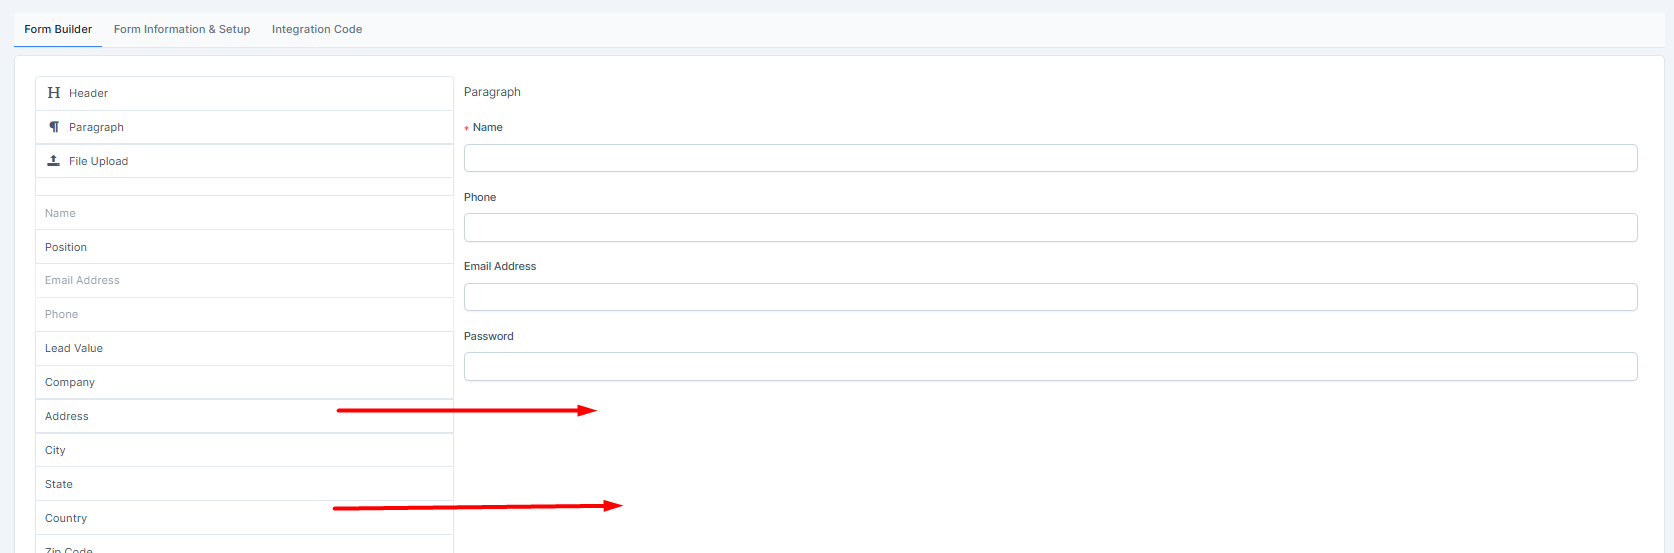
if you need additional custom fields: Setup-> Custom Fields-> Add New Custom Field-> Field Belongs to "Lead"-> Fill in other required fields and save.
27. Press on the "Integration Code" tab and copy the iframe code to your form/website, etc.
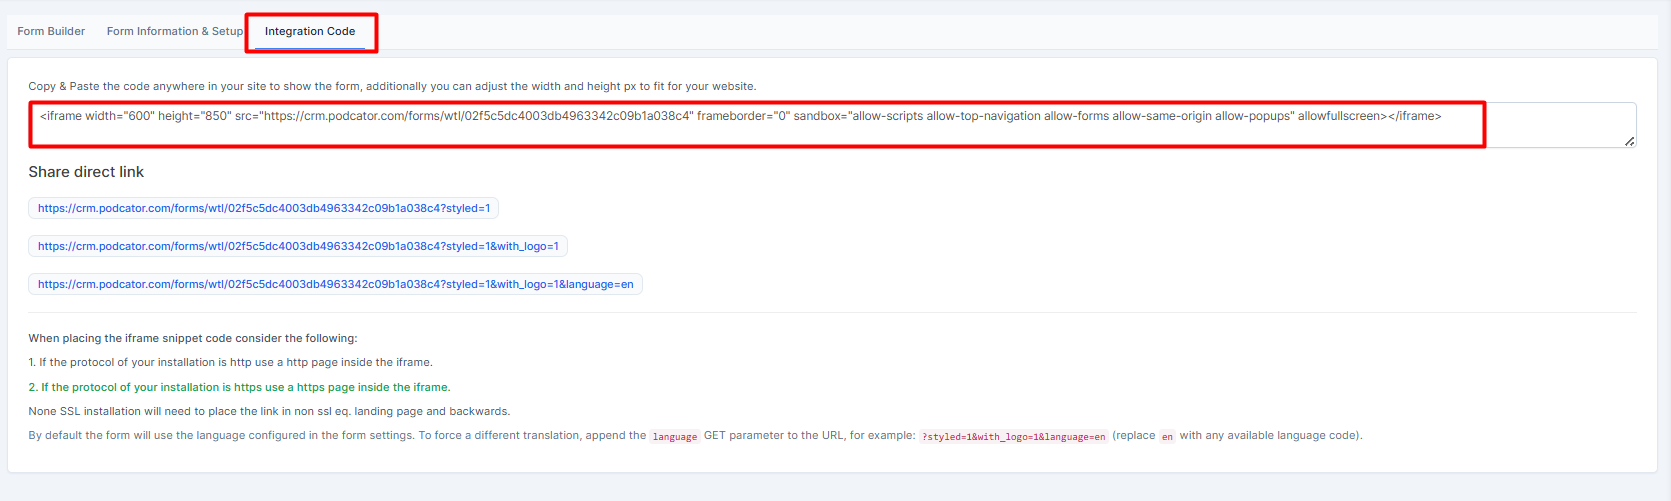
or use the direct links if your integration requires so

Creating a Lead
As a result, you will be able to create the Lead via the form you've created previously.
Lead Log
Viewing the Leads Log
Here can be viewed the Leads that arrived by the way of the Affiliate Management use AND if the affiliate was sending the leads with CURL - usual way.
For the CRM agent

For the affiliate use next login: https://your_crm_link/authentication